Using the cms-cvmfs-docker Image
Overview
Teaching: 20 min
Exercises: 20 minQuestions
What is so special about this image?
What problems does it solve and what still remain?
How do I interact with this image?
Objectives
Be able to startup the cms-cvmfs-docker image.
Be proficient in the use of the images more advanced features.
At the moment, this is the method I recommend! This image has been developed for the most demanding of CMSSW use cases. It can do everything the previous containers do and then some. It’s also been configured to comply with the Fermilab security policies, at least pre-COVID-19 (I haven’t tested this lately). It is based on the Docker official sl:7 image. The most up-to-date and comprehensive documentation can be found in the projects GitHub README. The images themselves are built an stored on Docker Hub.
The benefits of this image include:
- X11 and VNC support.
- Host UID and GID mapping inside the container.
- Some rudimentary CVMFS mount verification and re-mounting support.
- Greater support for a variety of CVMFS mounts (compared to the cms-cloud images):
- cms.cern.ch
- cms-ib.cern.ch
- oasis.opensciencegrid.org
- cms-lpc.opensciencegrid.org
- sft.cern.ch
- cms-bril.cern.ch
- cms-opendata-conddb.cern.ch
- ilc.desy.de
- The ability to mount all, a subset, or none of the CVMFS mount points.
- The image still allows access even if CVMFS is unreachable.
- No ability to
sudo. This is better for security, but sometimes a pain, especially if you need to install some software and there is no user level installation available.
Basics
Like most Docker containers, the basic run command for this container is:
docker run --rm -it fnallpc/cms-cvmfs-docker:latest
While the --rm is not strictly necessary, it is useful for this tutorial so that we don’t end up with a huge number of containers at the end. The output will look something like:
chmod: cannot access '/dev/fuse': No such file or directory
MY_UID variable not specified, defaulting to cmsusr user id (1000)
MY_GID variable not specified, defaulting to cmsusr user group id (1000)
Not mounting any filesystems.
Not necessary to check the CVMFS mounts points.
Unable to source /cvmfs/cms.cern.ch/cmsset_default.sh
Unable to setup the grid utilities from /cvmfs/oasis.opensciencegrid.org/
Many of these warnings are simply because we haven’t yet given the container the ability to mount CVMFS. Others are simply informative. The user should be fully informed of the containers state by the time it start up.
Mounting CVMFS
Next we will give the container the ability to mount CVMFS:
docker run --rm -it --device /dev/fuse --cap-add SYS_ADMIN -e CVMFS_MOUNTS="cms.cern.ch oasis.opensciencegrid.org" fnallpc/cms-cvmfs-docker:latest
MY_UID variable not specified, defaulting to cmsusr user id (1000)
MY_GID variable not specified, defaulting to cmsusr user group id (1000)
Mounting the filesystem "cms.cern.ch" ... DONE
Mounting the filesystem "oasis.opensciencegrid.org" ... DONE
Checking CVMFS mounts ... DONE
    The following CVMFS folders have been successfully mounted:
        cms.cern.ch
        oasis.opensciencegrid.org
The following options are available for the CVMFS_MOUNTS environment variable:
- If the variable is not specified or if its value is
"none", none of the CVMFS mounts will be added. - It can take a space separated list of mount points (i.e.
"cms.cern.ch oasis.opensciencegrid.org") and it will only mount the areas specified. - It can take the value
"all"and all of the mount points specified above will be added to the container.
Every time you start the container or exec into it as the user cmsusr, the mount integrity will be checked. If any of the mounts fail this probe, the system will attempt to remount the CVMFS points.
docker exec -it --user=cmsusr <container_name> /bin/bash
Checking CVMFS mounts ... DONE
    The following CVMFS folders have been successfully mounted:
        cms.cern.ch
        oasis.opensciencegrid.org
Getting a grid certificate
The problem with getting a grid certificate is that it relies on private information (i.e. the certificate files) and a set of folder/file permissions. We don’t want to build these files into the image (see the lesson on image security!). We also don’t want the cumbersome task of copying the file(s) into the container every time we want to use them. Even if we did that, we’d need to set the permissions, so it would be a multi-step task. To top it all off, once the certificate files are in the container, you still can’t use them because the files are tied to the UID and GID of the user who created them.
Have I convinced you yet that we need a better solution?
A way to accomplish everything we want is to setup the ~/.globus/ directory on the host machine, complete with the .pem certificate files and the correct permissions. Then we can mount that directory into the container where it would normally belong. The next thing we need to do is make sure the UID and GID of the remote user (cmsusr) matches the UID and GID of the host user. All of this comes together into a command which looks like:
docker run --rm -it --device /dev/fuse --cap-add SYS_ADMIN -e CVMFS_MOUNTS="cms.cern.ch oasis.opensciencegrid.org" -e MY_UID=$(id -u) -e MY_GID=$(id -g) -v ~/.globus:/home/cmsusr/.globus fnallpc/cms-cvmfs-docker:latest
Mounting the filesystem "cms.cern.ch" ... DONE
Mounting the filesystem "oasis.opensciencegrid.org" ... DONE
Checking CVMFS mounts ... DONE
    The following CVMFS folders have been successfully mounted:
        cms.cern.ch
        oasis.opensciencegrid.org
We added in the two CVMFS mounts because having access to the certificate files isn’t that useful unless you have the grid tools to go along with it.
Please not that the voms-proxy-init command has been aliased to:
voms-proxy-init -voms cms --valid 192:00 -cert ~/.globus/usercert.pem -key ~/.globus/userkey.pem
Not only does that make sure people don’t forget the typical options, but for some reason the base command is unable to find the user certificate automatically. So we gave it a little help.
Exercise: Try a standard CMS workflow
See if you can start a container with the ability to do
voms-proxy-initand usexrdfs.Solution
docker run --rm -it --device /dev/fuse --cap-add SYS_ADMIN -e CVMFS_MOUNTS="cms.cern.ch oasis.opensciencegrid.org" -e MY_UID=$(id -u) -e MY_GID=$(id -g) -v ~/.globus:/home/cmsusr/.globus fnallpc/cms-cvmfs-docker:latest
voms-proxy-init
xrdfs root://cmseos.fnal.gov/ ls /store/user/hats/2020
Mounting the filesystem "cms.cern.ch" ... DONE Mounting the filesystem "oasis.opensciencegrid.org" ... DONE Checking CVMFS mounts ... DONE The following CVMFS folders have been successfully mounted: cms.cern.ch oasis.opensciencegrid.org Enter GRID pass phrase: **** Your identity: /DC=ch/DC=cern/OU=Organic Units/OU=Users/CN=<username>/CN=<number>/CN=<Name> Creating temporary proxy .................................................................................... Done Contacting voms2.cern.ch:15002 [/DC=ch/DC=cern/OU=computers/CN=voms2.cern.ch] "cms" Done Creating proxy ......................................................................................................... Done Your proxy is valid until Mon Oct 5 05:16:52 2020 /store/user/hats/2020/JEC /store/user/hats/2020/Tau /store/user/hats/2020/Visualization
X11 support
It’s often useful to display graphical windows which originate from within the container. in order to do so, we will need some components in place first. You will need to have a properly configured X Window System. There are some notes about this in the setup directions. We also recommend restricting the default ip address to 127.0.0.1 as specified in the Ports section of the image security lesson.
If you would like to display X11 windows on the host machine which originate inside the container you will need to add the option -e DISPLAY=host.docker.internal:0, which will give you a command like:
docker run --rm -it -e DISPLAY=host.docker.internal:0 fnallpc/cms-cvmfs-docker:latest
Note: The X11 options are slightly different on Linux. You may need to use some or all of -e DISPLAY=$DISPLAY -e XAUTHORITY=~/.Xauthority -v ~/.Xauthority:/home/cmsusr/.Xauthority -v /tmp/.X11-unix/:/tmp/.X11-unix.
Special note for OSX users
To comply with FNAL security policies, you will need to turn on access controls using
xhost. This program adds and delets host/user names which are allowed to connect to the X server. The best practice is to restrict access to only the localhost. While not strictly necessary, I find it’s often easiest to clear the list of accepted hosts and then add back the localhost.xhost - xhost +127.0.0.1 xhostaccess control enabled, only authorized clients can connect 127.0.0.1 being added to access control list access control enabled, only authorized clients can connect INET:localhost
Exercise: X11 support, no CVMFS
See if you can open a container without mounting CVMFS and simply test your X11 support by starting
xeyes.Solution
docker run --rm -it -e DISPLAY=host.docker.internal:0 fnallpc/cms-cvmfs-docker:latest
xeyes
Note: You may see some benign warnings.
chmod: cannot access '/dev/fuse': No such file or directory
MY_UID variable not specified, defaulting to cmsusr user id (1000)
MY_GID variable not specified, defaulting to cmsusr user group id (1000)
Not mounting any filesystems.
Not necessary to check the CVMFS mounts points.
Unable to source /cvmfs/cms.cern.ch/cmsset_default.sh
Unable to setup the grid utilities from /cvmfs/oasis.opensciencegrid.org/
Trick: If all you want to do is start
xeyesand you don’t need to access thebashprompt, then send the command when starting the container. As soon asxeyesstops, the container will exit.docker run --rm -e DISPLAY=host.docker.internal:0 fnallpc/cms-cvmfs-docker:latest -c xeyeschmod: cannot access '/dev/fuse': No such file or directory MY_UID variable not specified, defaulting to cmsusr user id (1000) MY_GID variable not specified, defaulting to cmsusr user group id (1000) Not mounting any filesystems.

Easily make your image X11 ready
The
X11ifyrepository is available to make many images X11 ready. The Dockerfile in this repository will build off of your chosen image, installing the necessary components. For more information take a look at the GitHub README.
Use a VNC server inside the container
Some people prefer to work with VNC rather than X11. I’ve even been told that this is preferable by some of my colleagues who use Windows 10. Using VNC avoids opengl+x11+? graphical incompatibilities. In order to facilitate this use case, the image comes with a built-in VNC server and noVNC+WebSockify, so that the host can connect via a web browser.
To run a VNC server inside the container you will need to open two ports using the options -P -p 5901:5901 -p 6080:6080. Once you’re inside the container, use the command start_vnc to start the VNC server.
You will now have two or three with which to connect:
- VNC viewer address: 127.0.0.1:5901
- OSX built-in VNC viewer command: open vnc://127.0.0.1:5901
- Web browser URL: http://127.0.0.1:6080/vnc.html?host=127.0.0.1&port=6080
Special note for OSX users
You will need to go to System Preferences -> Sharing and turn on Screen Sharing if using a VNC viewer, built-in or otherwise. You will not need to do this if using the browser.
More information about this feature can be found in the images GitHub README.
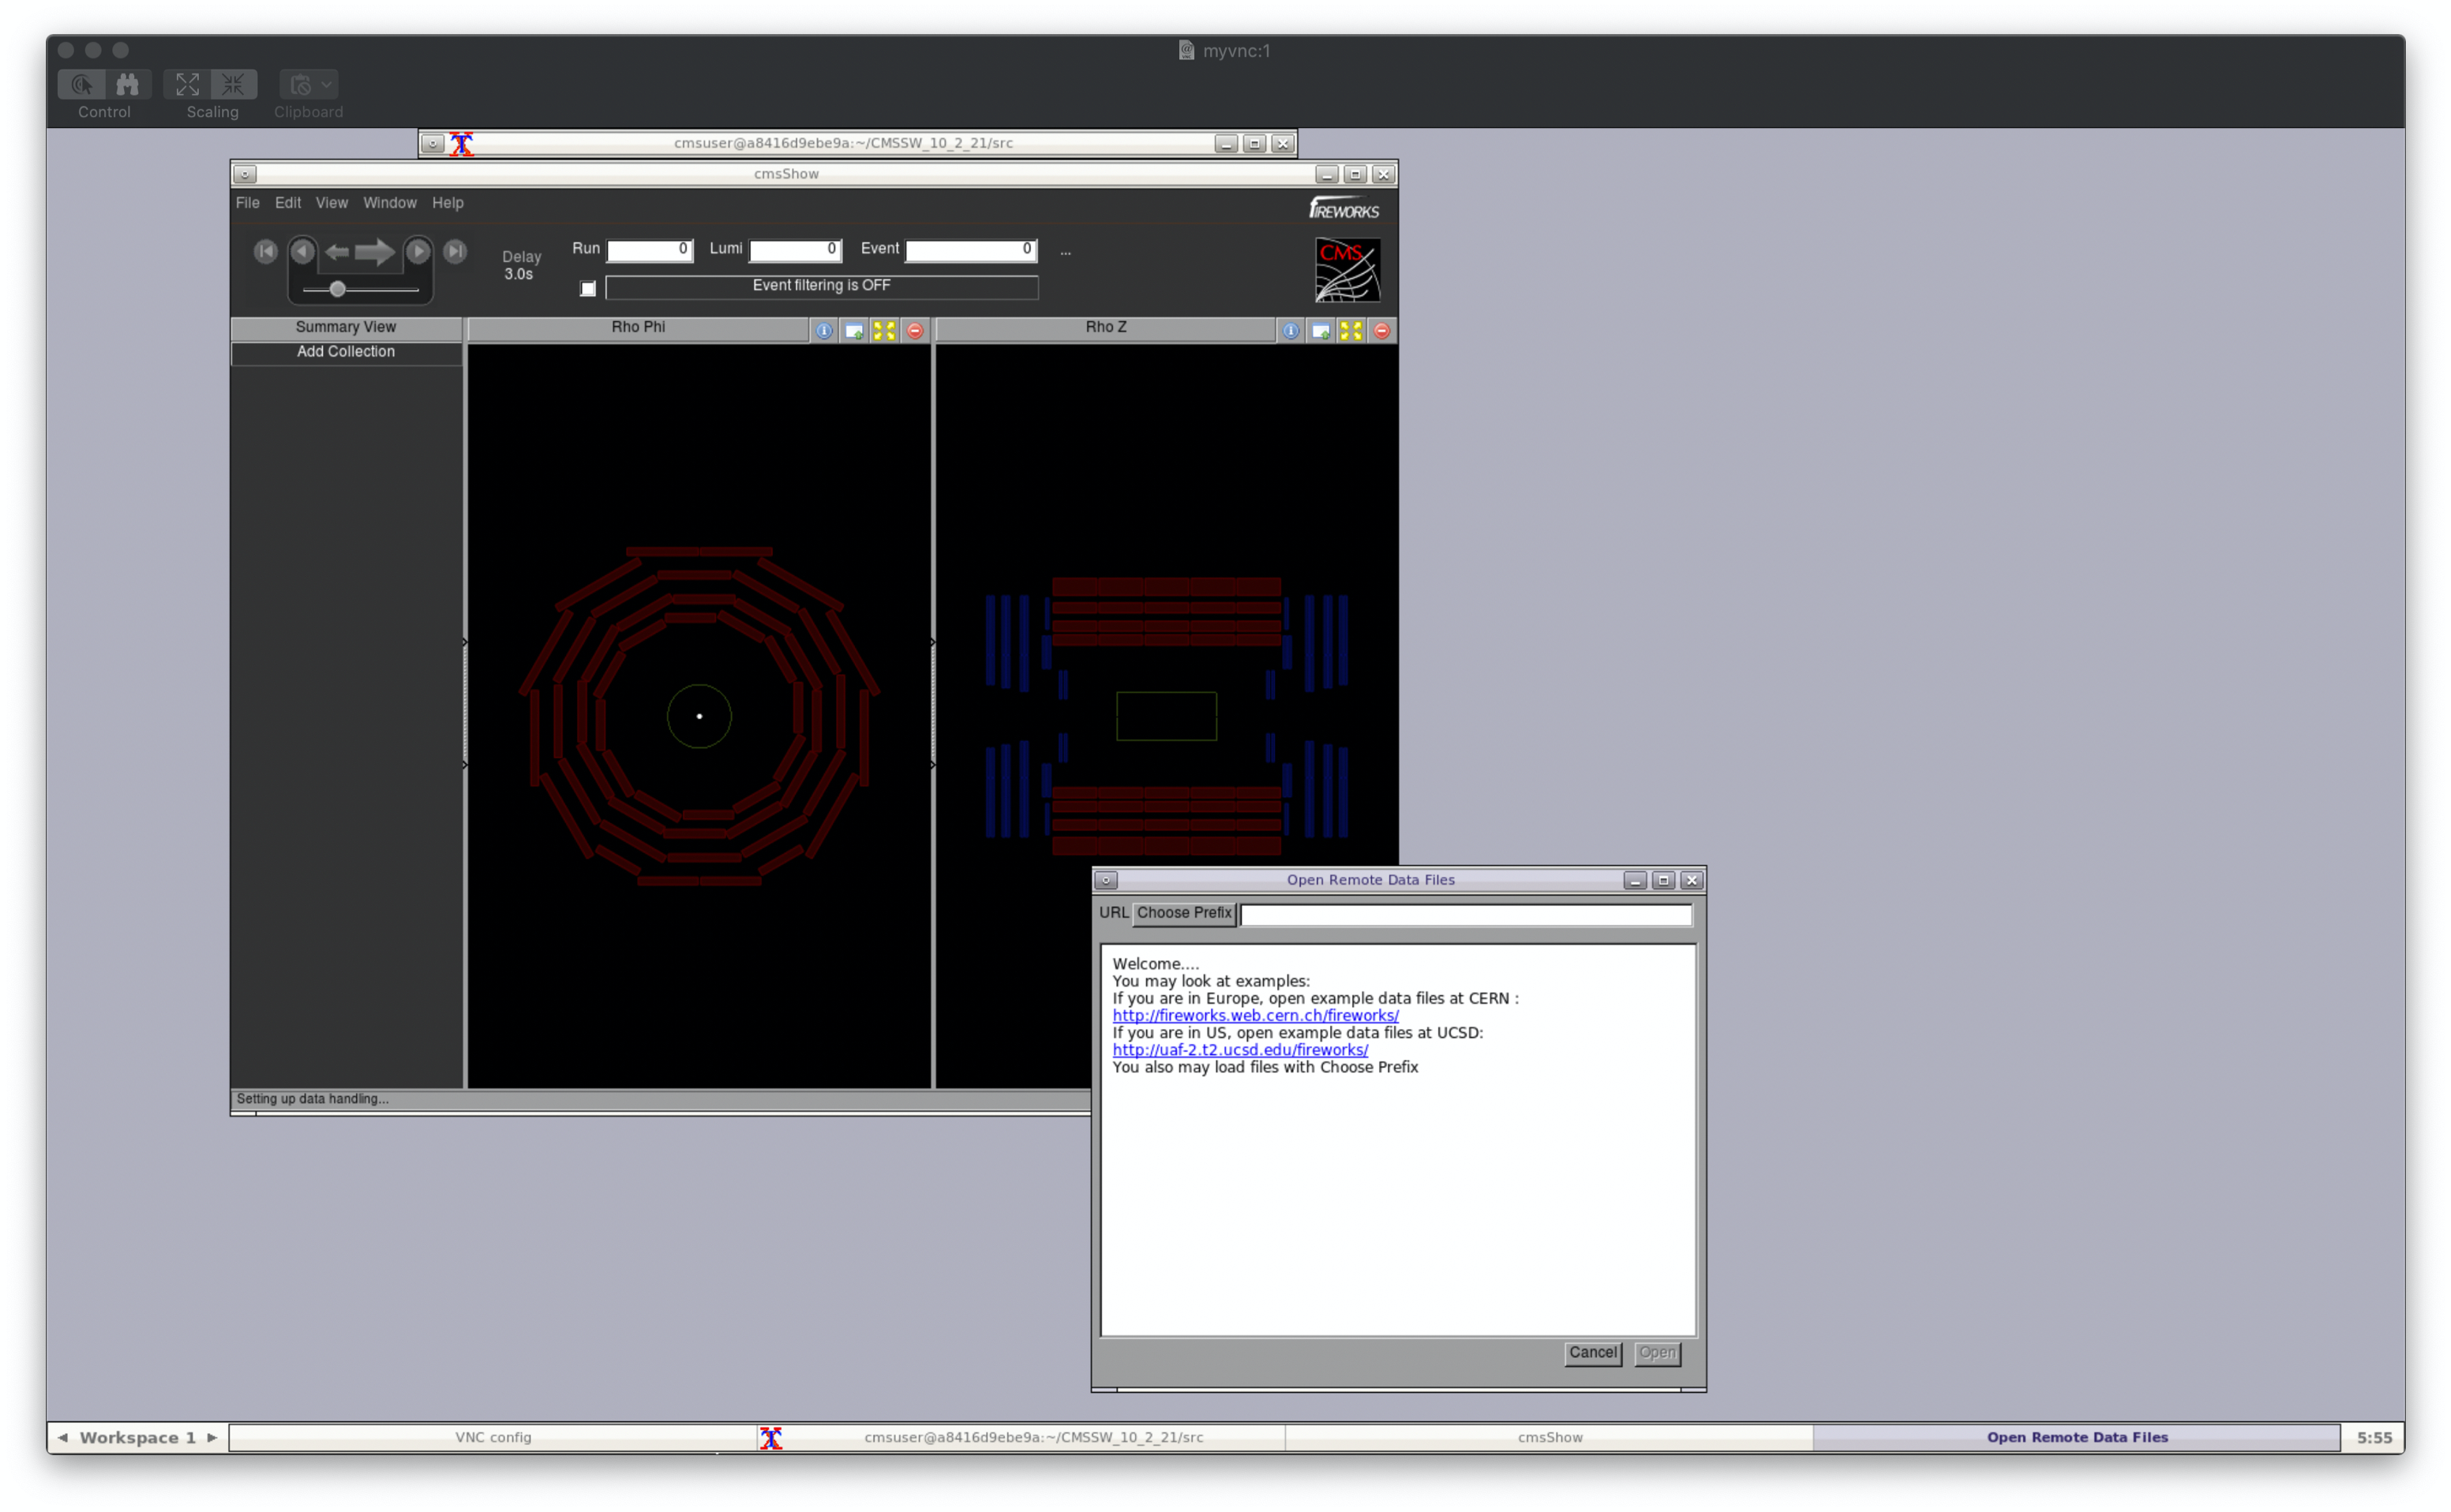
Exercise: Use cmsShow over VNC
See if you can start a container and use cmsShow through VNC, not X11.
Solution
docker run --rm -it -P -p 5901:5901 -p 6080:6080 --device /dev/fuse --cap-add SYS_ADMIN -e CVMFS_MOUNTS="cms.cern.ch oasis.opensciencegrid.org" fnallpc/cms-cvmfs-docker:latest
cmsrel CMSSW_10_2_21
cd CMSSW_10_2_21/src/
cmsenv
start_vnc verbose
cmsShow
Note: Be patient, it may take a while before the
cmsShowcommand shows any printouts or displays any graphics.MY_UID variable not specified, defaulting to cmsusr user id (1000) MY_GID variable not specified, defaulting to cmsusr user group id (1000) Mounting the filesystem "cms.cern.ch" ... DONE Mounting the filesystem "oasis.opensciencegrid.org" ... DONE Checking CVMFS mounts ... DONE The following CVMFS folders have been successfully mounted: cms.cern.ch oasis.opensciencegrid.org WARNING: Release CMSSW_10_2_21 is not available for architecture slc7_amd64_gcc820. Developer's area is created for available architecture slc7_amd64_gcc700. WARNING: Developer's area is created for non-production architecture slc7_amd64_gcc700. Production architecture for this release is slc6_amd64_gcc700. You will require a password to access your desktops. Password: Verify: Would you like to enter a view-only password (y/n)? y Password: Verify: xauth: file /home/cmsusr/.Xauthority does not exist New 'myvnc:1' desktop is a8416d9ebe9a:1 Creating default config /home/cmsusr/.vnc/config Starting applications specified in /home/cmsusr/.vnc/xstartup Log file is /home/cmsusr/.vnc/a8416d9ebe9a:1.log [1] 451 VNC connection points: VNC viewer address: 127.0.0.1:5901 OSX built-in VNC viewer command: open vnc://127.0.0.1:5901 Web browser URL: http://127.0.0.1:6080/vnc.html?host=127.0.0.1&port=6080 To stop noVNC enter 'pkill -9 -P 451' To kill the vncserver enter 'vncserver -kill :1' [cmsusr@a8416d9ebe9a src]$ Warning: could not find self.pem Using local websockify at /usr/local/novnc-noVNC-0e9bdff/utils/websockify/run Starting webserver and WebSockets proxy on port 6080 Navigate to this URL: http://a8416d9ebe9a:6080/vnc.html?host=a8416d9ebe9a&port=6080 Press Ctrl-C to exit WebSocket server settings: - Listen on :6080 - Web server. Web root: /usr/local/novnc-noVNC-0e9bdff - No SSL/TLS support (no cert file) - proxying from :6080 to 127.0.0.1:5901 Starting cmsShow, version CMSSW_10_2_21. Info: No data file given. Info: Load idToGeo 2017 from /cvmfs/cms.cern.ch/slc7_amd64_gcc700/cms/cmssw/CMSSW_10_2_21/external/slc7_amd64_gcc700/data/Fireworks/Geometry/data/cmsGeom10.root
Easily make your image VNC ready
The
vncifyrepository is available to make many images capable of running a VNC server and noVNC+WebSockify. The Dockerfile in this repository will build off of your chosen image, installing the necessary components. For more information take a look at the GitHub README.
Using Jupyter within the container
Many people prefer to use a Jupyter Notebook environment for code/analysis development these days. While the cms-cvmfs-docker container does not have Jupyter Notebook installed (to keep the image small), Jupyter is accessible through the sft.cern.ch CVMFS mount.
Exercise: Start a Jupyter server and view it in your browser
See if you can start a Jupter server in your container and view it in your browser. Make sure you also have interactive access to the container. You already have all of the information you need to accomplish this – that is, assuming you know how to start a Jupyter server.
Solution
Begin by opening up a container:
docker run --rm -it -p 8888:8888 --device /dev/fuse --cap-add SYS_ADMIN -e CVMFS_MOUNTS="cms.cern.ch oasis.opensciencegrid.org sft.cern.ch" fnallpc/cms-cvmfs-docker:latestMY_UID variable not specified, defaulting to cmsusr user id (1000) MY_GID variable not specified, defaulting to cmsusr user group id (1000) Mounting the filesystem "cms.cern.ch" ... DONE Mounting the filesystem "oasis.opensciencegrid.org" ... DONE Mounting the filesystem "sft.cern.ch" ... DONE Checking CVMFS mounts ... DONE The following CVMFS folders have been successfully mounted: cms.cern.ch oasis.opensciencegrid.org sft.cern.chYou need to have a port mapped in order to access the Jupyter server from outside of the container. We have chosen port
8888, but you are free to choose a different port.Take a look at the running containers and identify the container name and ID for the one you just spun up:
docker psCONTAINER ID IMAGE COMMAND CREATED STATUS PORTS NAMES <CONTAINER_ID> fnallpc/cms-cvmfs-docker:latest "/run.sh" N minutes ago Up N minutes 127.0.0.1:8888->8888/tcp <CONTAINER_NAME>Next, we will open up a second view into the container so that we can interact with the container’s file system on one and run the Jupyter server from the other. Make sure to use
docker exechere, rather thandocker attach, so that you can open up a new shell process. If you simply attach to the container your new prompt will be in the same shell process as the original one. Also, make sure to specify the same user as in the original shell. By defaultdocker execwill enter the container as therootuser rather thancmsusr.docker exec -it --user=cmsusr <CONTAINER_NAME> /bin/bashSource the the relevant LCG environment in whichever prompt you prefer and then start the Jupyter server:
which jupyter
source /cvmfs/sft.cern.ch/lcg/views/LCG_96python3/x86_64-centos7-gcc8-opt/setup.sh
which jupyter
jupyter notebook --ip 0.0.0.0 --no-browser --notebook-dir . --port 8888
/usr/bin/which: no jupyter in (/cvmfs/oasis.opensciencegrid.org/mis/osg-wn-client/3.4/3.4.54/el6-x86_64/usr/bin:/cvmfs/oasis.opensciencegrid.org/mis/osg-wn-client/3.4/3.4.54/el6-x86_64/usr/sbin:/cvmfs/cms.cern.ch/common:/usr/local/sbin:/usr/local/bin:/usr/sbin:/usr/bin:/sbin:/bin) /cvmfs/sft.cern.ch/lcg/views/LCG_96python3/x86_64-centos7-gcc8-opt/bin/jupyter [I 04:53:32.923 NotebookApp] Writing notebook server cookie secret to /home/cmsusr/.local/share/jupyter/runtime/notebook_cookie_secret [I 04:53:50.245 NotebookApp] Serving notebooks from local directory: /home/cmsusr [I 04:53:50.245 NotebookApp] The Jupyter Notebook is running at: [I 04:53:50.245 NotebookApp] http://(0f8888173907 or 127.0.0.1):8888/?token=27fe7fba0ba5211333328ca3fb57960d5a119843fc81eb32 [I 04:53:50.245 NotebookApp] Use Control-C to stop this server and shut down all kernels (twice to skip confirmation). [C 04:53:50.322 NotebookApp] To access the notebook, open this file in a browser: file:///home/cmsusr/.local/share/jupyter/runtime/nbserver-1256-open.html Or copy and paste one of these URLs: http://(0f8888173907 or 127.0.0.1):8888/?token=27fe7fba0ba5211333328ca3fb57960d5a119843fc81eb32From there you should follow the directions and enter the url
http:// 127.0.0.1:8888/?token=27fe7fba0ba5211333328ca3fb57960d5a119843fc81eb32into your browser.
Because we love our users … you’re welcome
The
cvmfs_dockerhelper functionWe know this can be a lot to remember. I certainly don’t want to type all of those commands every time I start a container. Therefore, we have developed a bash function with a handy help message. Instead of typing the docker command manually, just run the function and let it start the container for you.
To obtain the bash function, clone the GitHub repository and source the
.cms-cvmfs-dockerscript:git clone https://github.com/FNALLPC/cms-cvmfs-docker.git source cms-cvmfs-docker/.cms-cvmfs-dockerHelp message
cvmfs_docker -h[-h] [-m "space separated mounts"] [-l <local path to mount>] [-r <remote path to mount>] -- opens a temporary docker container for mounting CVMFS simply specify the mount points or for all and then specify an additional folder to mount into the container where: -d print the command being used to invoke the docker container (default: false) -g mount the global gitconfig file from the host (default: false) -h show this help text -l [LOCAL] local path to mount in container (default: ) -m [MOUNTS] sets the mount points; space separate multiple points inside quotes (default: ) -n [NAME] make the container persistent (default: ) -r [REMOTE] remote path to mount in the container (default: /root/local_mount/) -s mount the .ssh folder (default: false) -v expose the ports needed to use a VNC viewer (default: ) example: cvmfs_docker -m "cms.cern.ch oasis.opensciencegrid.org" -l /Users/aperloff/Documents/CMS/FNAL/HATS/Docker_Singularity -r /root/workdir
Key Points
The cms-cvmfs-docker image includes a lot of features missing from other CMS images.
It has graphics support, CVMFS mount integrity support, and ID mapping support.
It is Fermilab security compliant.